Friday, November 25, 2011

Car Page - Quiet Book pages 6 & 7

I've started a new blog, The Quiet Book Blog, at Quietbookblog.blogspot.com. If you'd like to see more pictures of quiet books and instructions on how to make one, check it out!


Okay guys, this is one of my favorite quiet book pages. It's simple, really, but was complicated to make at the same time. It's simple because its function is simple - you take the car out of the pocket where it's stored and you play with it on the road.

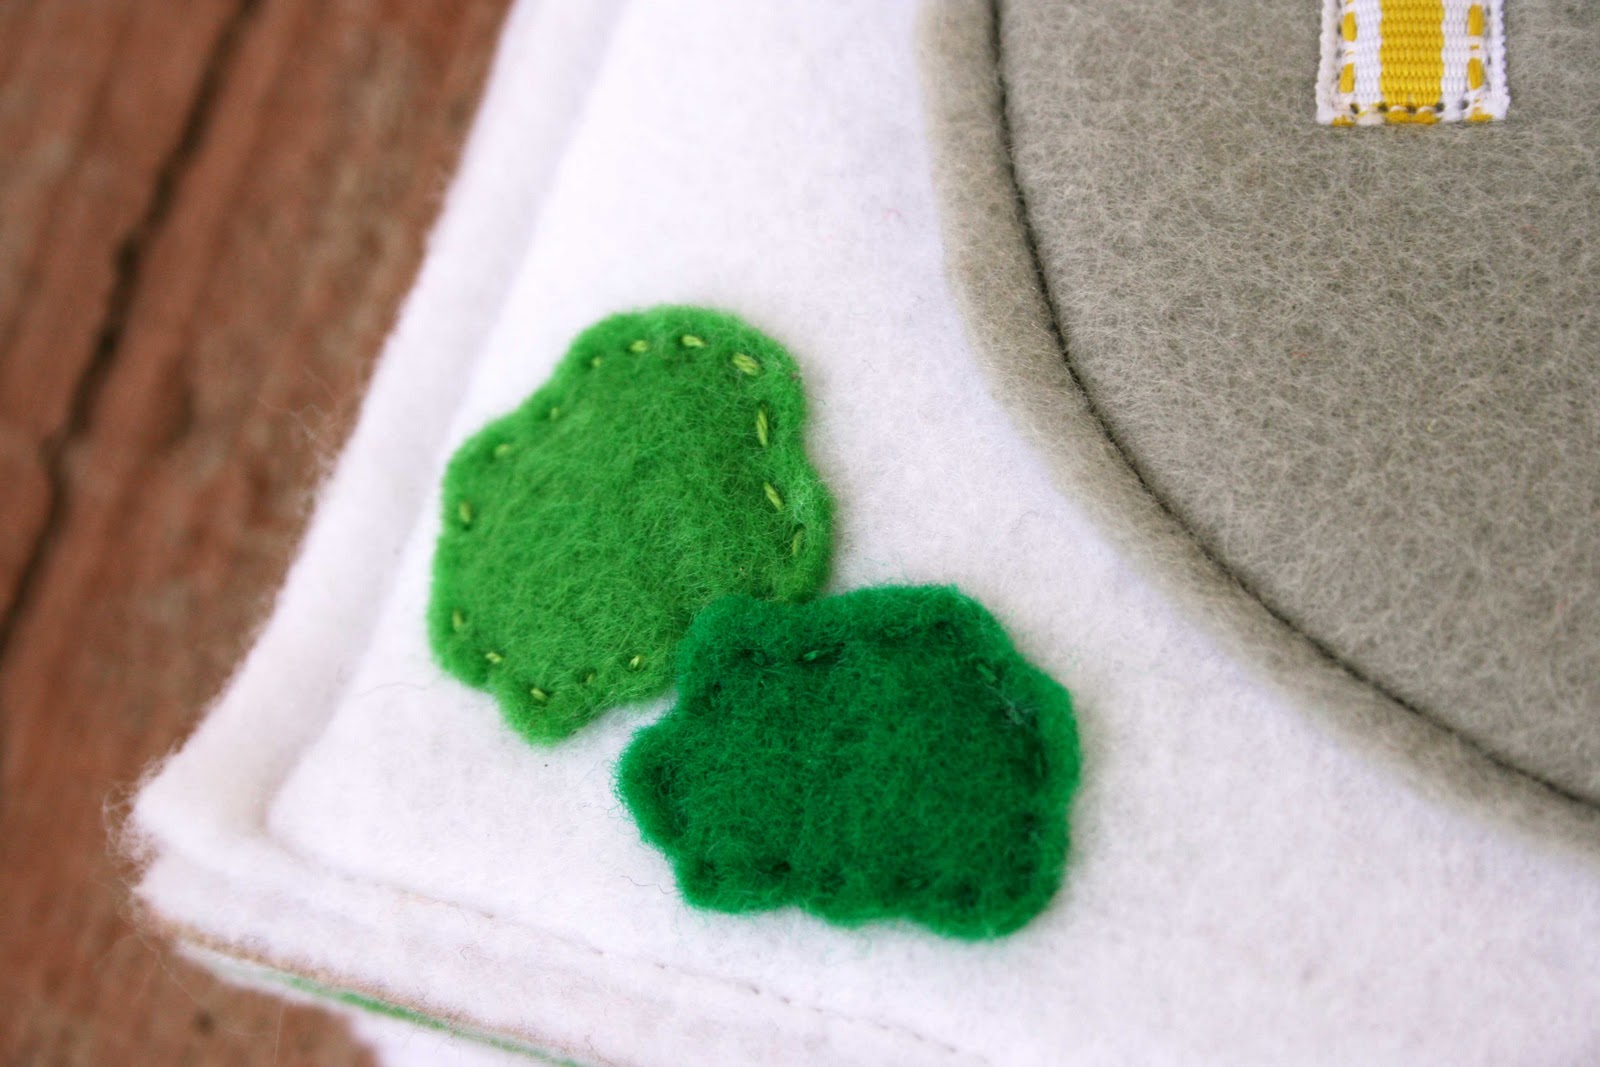
It was complicated to make because each of the little things - the bushes, tree trunks, tree tops, house bits, school, windows - needed to be hand-sewed on. And the yellow house, the little flower patch, and the flag are completely thread - no felt at all. It took a long time. And by long I mean like two whole days. But even though (and probably because) it took so long, I really like the way it turned out.

The little felt car I made :)


Random fyi: the yellow bits in the middle of the road are from a thin yellow-patterned ribbon that I cut up and sewed on with the machine. And the car storage pocket is not felt; it's some blue linen-type fabric I happened to have. In case you wanted to know. :)

I hope our kids have fun playing with it!


Here are links to the other quiet book pages:

The Lion (Texture) Page


 I've started a new blog, The Quiet Book Blog, at Quietbookblog.blogspot.com. If you'd like to see more pictures of quiet books and instructions on how to make one, check it out!

Wednesday, November 23, 2011

The Apple Tree and the Dinosaur - Quiet Book Pages 4 & 5

To download the free Apple Tree quiet book template, click HERE.

Hi guys! Thanks for tuning in for day three of the quiet book pages. Today I'm excited to show you the apple tree and (more especially!) the dinosaur.


The apple tree is a quiet book classic. We had it in our quiet book that my mom made us when we were little.  The apples are on little snaps, and you can snap them off the tree and put them in the bucket.


The dinosaur, I'm excited to say, is entirely my own creation. I haven't seen anything out there like it. I just really wanted a dinosaur page, and this is exactly what came to mind when I imagined it.


He's so happy! So, the yellow spots and purple spines are velcroed on, which means you can take them off and rearrange them or stow them in the stealthy ground pocket.


Most everything in the book I did with a sewing machine, but I hand-sewed the dinosaur on for a couple reasons. First of all, his little hands and feet with their fingers and toes would have been nearly impossible to do satisfactorily on a sewing machine. Secondly, I made half the ground a pocket, but the other half isn't, and it would have been more complicated to machine sew him on with the pocket. So, I hand stitched him. I like the way it looks, too. :)

I really love the dinosaur. I think it might be my favorite page in the book, just because it is all my own idea and design. And I love dinosaurs. So, I guess that makes sense that I would love this guy.

So, yeah! That's the apple tree and the dinosaur.

To download the free Apple Tree quiet book page Template, click HERE.


Here are links to the other quiet book pages:

The Lion (Texture) Page


Tuesday, November 22, 2011

Farming! - Quiet Book pages 2 & 3

Hi folks! Thanks for tuning in for the second day of quiet book pages. Yesterday was the lion, and today is the farm page!


I, like everyone else on the internet, got this idea from Homemade by Jill. There's a couple different versions I've found and pinned on my pinterest quiet book board, and took my favorite things from each of them and combined them.


 When you open up the barn doors, you find...


farm animal finger puppets! And you can take them out and play with them on the next page.


I used part of Jill's template to make the barn, and partly I just winged it. The grassy farm page next to the barn was my idea; I wanted children to have room to play with the finger puppets. I also just made my own finger puppet templates, going off of the finger puppets found on Jill's website, and here, and here. Again, I made my own little changes to make them just how I wanted them. I was a bit worried the barn doors wouldn't stay closed when the finger puppets were stowed in their pocket, but Jason had the genius idea of putting a little latch on the front of the doors that buttons closed. So they're all safe and secure.

And that's the farm! Tune in tomorrow for more quiet book pages. :)


To download the free Farm Page quiet book template, complete with Farm Animal Finger puppets, click here or on one of the pictures:


To download just the free Farm Animal Finger Puppets template, click here or on the picture:


To download the entire Quiet Book template, click here or on the picture:


Here are links to the other quiet book pages:

The Lion (Texture) Page


Monday, November 21, 2011

The Lion! - Quiet Book page 1

So, we start off the week of quiet book pages with the lion page! You open the quiet book, and the first thing you see is this guy smiling back at you.


This page is all about textures. The lion's mane is made up of all different sorts of ribbons: soft and smooth, bumpy, wiggly, rough, and so on.


Our baby will be able feel and grab all the different ribbons. Hopefully that'll be fun for her and keep her entertained (at least for a couple minutes)! ;)


To download the free Lion Page quiet book template, click here or on the picture:


To download the entire Quiet Book template, click here or on the picture:

The Quiet Book

*I've started a new blog, "The Quiet Book Blog" at Quietbookblog.blogspot.com. If you'd like to see more pictures of quiet books and instructions on how to make one, check it out!*

Hi everyone!

Guess what? Bum ba da dum (that's a trumpet) - today I'm 36 weeks pregnant! That's eight full months! Which means, my friends, that my due date is exactly four weeks away. Yay! We're so excited. We're going to have our baby with us so soon! I'm trying to get everything together and ready now for when she gets here.

Tomorrow I start my once-a-week doctor appointments. I'm excited about that. So far it's usually been once a month, and the last two times it was every two weeks. Now we're so close I go in once a week! And I've finished my prenatal class. I definitely feel more prepared than I did, but I still feel so unready. I've never had a newborn before; am I going to know what to do? She's going to be all fragile and breakable - what if I break her? What if I do something wrong? What if I'm bad at everything? Logically, I know that everything will work out just fine, but I'm still nervous.

Sorry I haven't posted anything in the past couple weeks. I've actually been super busy working on a new project, and wanted to finish it all before I posted any pictures of it. I've made - bum ba da dum (that's another trumpet) - a quiet book!

Aren't you just so curious to know what each of those pages is?

For those of you unfamiliar with quiet books, they're soft books made mostly of fabric that have different activities your kids can play with during times they need to be quiet (like church). I know that me and Jason's baby hasn't even been born yet, but I figure this is the perfect time to get started. I'm sure I was able to get far more done right now than when I actually have a baby to take care of.

I got the idea from my friend Jill, who's also making one. We (my siblings and I) had quiet books that our Mom made when we were kids, and I loved them. So, whenever Jill would mention her project, I got this huge desire to make one too.  I started finding lots of ideas online on blogs, and basically built my pinterest account on quiet book pages that I liked. And then I got busy!


Everyday for the next week, I'll be posting pictures of each page of my quiet book, with a big final summary post of the whole book at the end. The only thing I haven't done is bind it - I'm having trouble finding metal rings that are big enough. But, I hope you forgive me for that and, in the meantime, enjoy all the different pages I've made!

Monday, October 31, 2011

Family Talents


Happy Halloween! As I was compiling the pictures from this last week, I realized that they all showcased different family member's talents in one way or another.

First of all, did you guys know that Jason is an amazing artist? He is. I should seriously show you some of the stuff he did in high school. He's amazing. And every year, he does an amazing pumpkin carving. Remember his pumpkin from last year? I sure do. And this, my friends, is the incredible piece of art that he made this year:


It's the house from Up! Isn't it amazing? And look at that detail! Holy cow, I have a talented husband. Seriously.

It's sitting next to, of course, my traditional smiley pumpkin. Man, I love seeing that guy every year.


Next, we have my mom. She is an incredible seamstress. All my life she's made us (and our friends!) Halloween costumes, various outfits, and fancy dresses for school dresses or weddings. She even got a job earlier this year for a company that makes costumes for little kids, and she's great at it. She started high, and she's already been promoted.

This year, she made my sister Sydney a Yip Yip costume. And it is awesome. Good job for Sydney for thinking of such a great costume, and wow for my mom for pulling it off.


Sydney looks awesome in her costume.

And, finally, I did my best to make costumes for me and Jason this year. We're Pacha and his wife Chicha from The Emperor's New Groove. We went with it because we love the movie and because Chicha is very, very pregnant. So it works!


So, that's how we've prepared for Halloween this year. Happy trick-or-treating tonight!

Cheesecloth ghosts and fabric pumpkins!

Hola! So remember how my friends and I made that Autumn banner like a month ago? Well, we made even more fun fall crafts a couple weeks ago: Stiffy ghosts and fabric pumpkins. They were both really easy to make.

This is all we needed for the ghosts (there are lots of tutorials online if you want to try them yourself): cheesecloth, Stiffy fabric stiffener, scissors, plastic wrap, tape, a cup, wire (for the arms), and a grocery bag (for the head, all balled up and wrapped in plastic wrap).


Here are my ghosts after they'd dried and I'd taken them off of their little mannequin (made out of plastic cups and wire) things:


And with their faces:


Ta da! It's been fun having them around the house; they're so friendly and smiley when I walk into different rooms.


The pumpkins were easy too. We used the tutorial found here (with a few modifications): Squash Softies. You only need fabric, a stem (a.k.a. stick you find outside), some stuffing (we used plastic grocery bags), thread, a needle, and a hot glue gun. Here's how to make them:

1. Cut a fabric circle for each pumpkin. We made different size circles, which gave us different sized pumpkins. The big pumpkins were 17-18 inch diameter circles, the middle sized ones 12 inch diameter, and the little one 8 inches.

2. Thread the needle and knot the thread several inches from the end. Sew wide stitches around the edge of the circle (about 1/2 inch from the edge). Holding one end of the thread, pull the other end so that the fabric gathers. Stuff grocery bags inside.

3. Set the stem in the hole, and pull the thread to cinch the fabric around it. We used hot glue inside the hole to help firmly set the stem. Tie the thread off and cut off the excess. And you're done!


I really love my pumpkins, especially the orange leafy one. And the burlap one. :) (I know that's two out of three, and I should probably include the little red one in my favorable assessment as to not hurt its feelings, but I really do love each of the other two more. Sorry, little red one. Stay strong.)